
Have you every had days where you've forgotten to defrost meat to cook for the day, too lazy to get more groceries, or too cheap to eat out? I do! On those days I really wished I had some quick and healthy in my freezer that doesn't require defrosting so that I can quickly cook and eat in the next 15 mins :)
Well here's a recipe that I think you'll enjoy. These dumplings store in the freezer quite well so you can make them on the weekend and eat it during the week nights after a long day's work. I just finished a batch so I thought I'd blog about them while I'm still in the dumpling mood.
(Apologies for the delay in posts...I've been away on vacation and now just getting back into the groove of cooking!)
Without further adieu, here's what you'll need. I had most of the ingredients at home already but what I didn't have, I was able to find it all at Price Mart.
Ingredients:
- 1 package of square wonton wrappers (these are in the refrigerated area of the store)

- 1 package of ground lean chicken (approximately 0.5kg)
- 1 Tbsp corn starch
- 2 tsp salt
- 1/2 tsp ground white pepper
- 2 Tbsp minced fresh ginger
- 1 cup finely chopped fresh water chestnuts, thoroughly cleaned and peeled

- 2 Tbsp minced fresh garlic
- 1/2 cup minced green onions
- 1 egg
- 2 Tbsp sesame oil
- 1 Tbsp oyster sauce
- 1 tsp soy sauce
- 1 Tbsp rice wine
- 1/4 tsp sugar
Directions:
1. In a medium mixing bowl, combine all of the ingredients above and mix well.

2. Set up your wrapping station! I have here my meat filling, an open package of wonton wrappers, a bowl of water for sealing the dumplings, and a glass tray to store my completed dumplings.
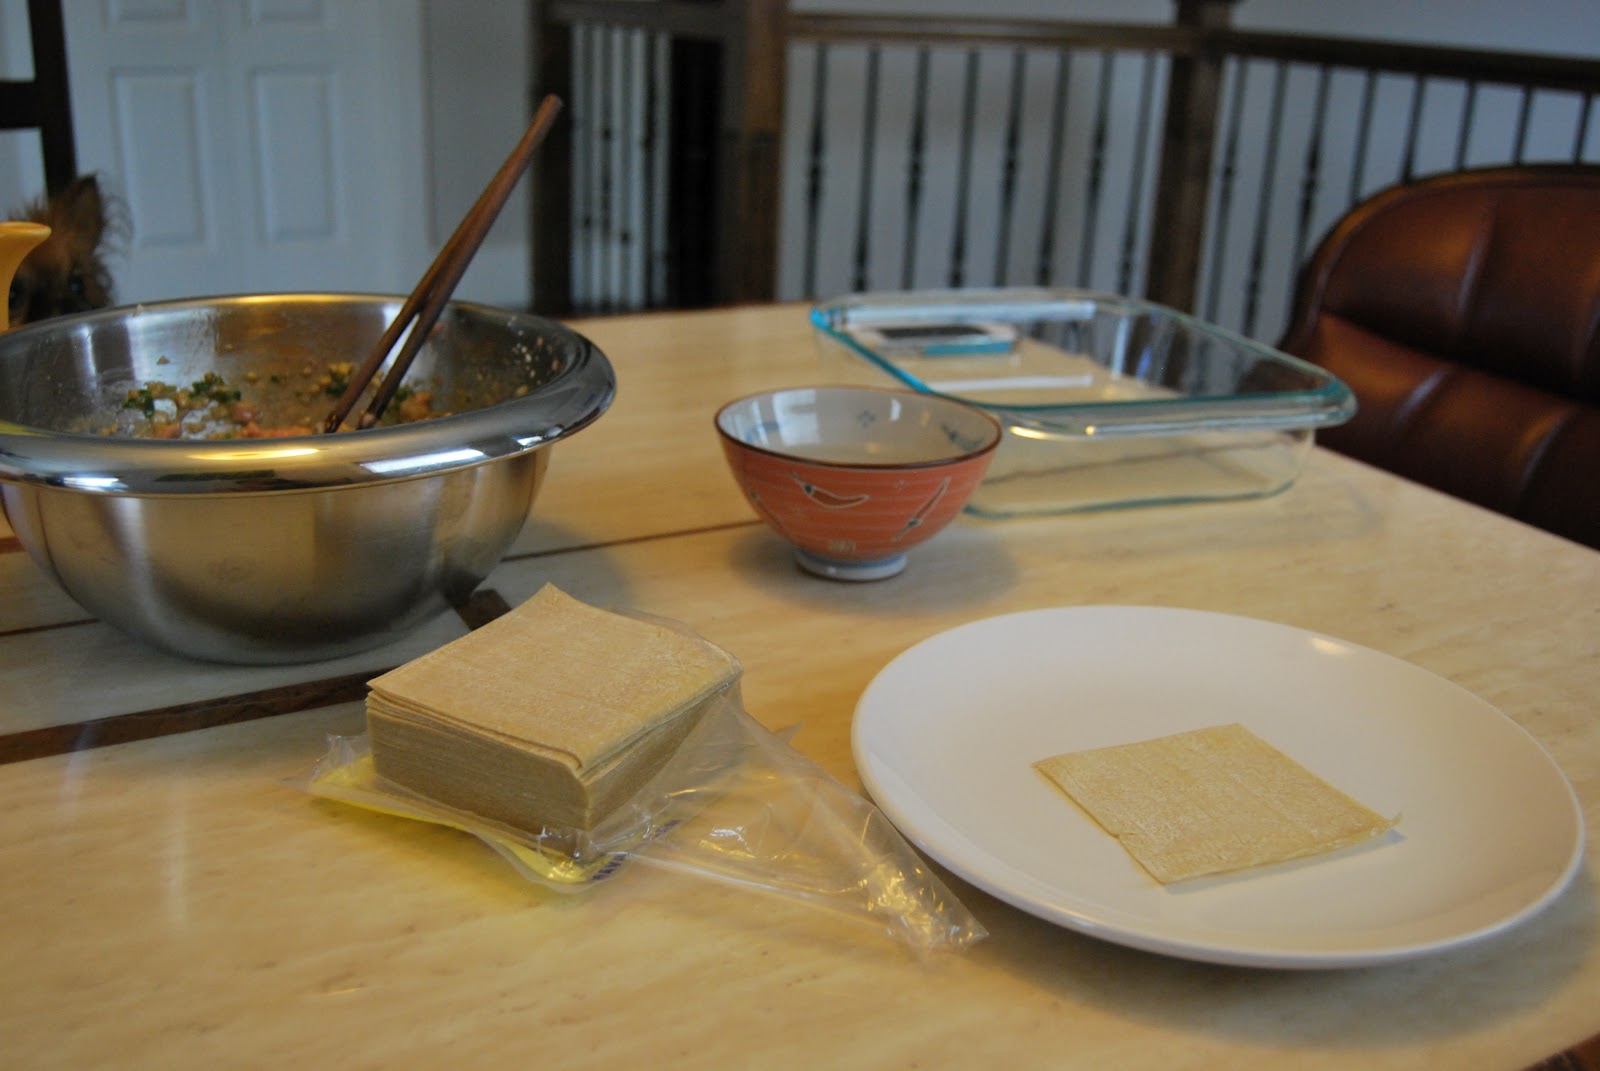
3. Start wrapping!! This is the most time consuming portion of the process. I'll show you how to wrap two different ways. The first way is the simplest way. The second method looks prettier and meant more for soups than pan frying. You'll see why below.
Method 1:
A. Start with a wonton wrapper on a plate


The flatness of this dumpling makes it ideal for pan frying so we'll call these ones Chicken Pot Stickers.
Method 2:
Following the same instructions as above, add the following additional steps:
E. Along the long side of the dumpling, wet the edge and fold one more time.


F. Take the bottom two corners and join them together so that the corners overlap. Be sure you know which side of the corner to wet so that they seal together when pinched.

The roundness of this dumpling works great in soups and dumpling noodle soups so we'll call these these ones Chicken Soup Dumplings.
You can either cook a few of your dumplings at this point to test our whether the filling needs anything to be added to it, or you can continue on until you are done using up all of the meat mixture. I use a little bit a flour in the glass tray to help prevent the dumplings from sticking together while they are in the tray.

4. Onto the cooking part! Boil a pot of water and place your dumplings inside.
(You can freeze your leftover dumplings for another day.)

5. Be careful of the dumplings sticking together. Gently stir the dumplings in the pot to separate them. Once they start to float, let it cook for a few minutes longer and remove with a strainer

6. The dumplings are fully cooked so you can either enjoy the as they are with a little hot sauce and/or soy sauce, or you can continue on if you like them pot sticker style!

7. In a non stick pan, heat up about 1 Tbsp of grapeseed oil.
8. Add the boiled dumplings to the pan. Be sure to remove any excess water during the transfer to prevent oil from spraying when added to the frying pan.

9. Shake the pan to prevent the dumplings from sticking together. You can also use chopsticks to pull them apart. Turn once golden brown on one side.

10. Cook the other side of the dumpling until it is the colour your want it. Serve hot and enjoy!

Enjoy!


